Key Takeaway
To troubleshoot a faulty pressure gauge:
Check for zero error: Ensure the pointer returns to zero when not pressurized.
Inspect for physical damage: Look for cracks, corrosion, or bent pointers.
Verify pressure source: Make sure the process actually has pressure.
Use a calibration device: Compare readings with a known standard.
Examine connections: Ensure there are no leaks or loose fittings.
Test with another gauge: Swap with a known-good gauge to isolate the issue.
Check for clogging: Flush or clean if fluid contamination is suspected.
If problems persist, replace or recalibrate the gauge depending on severity and cost-effectiveness.
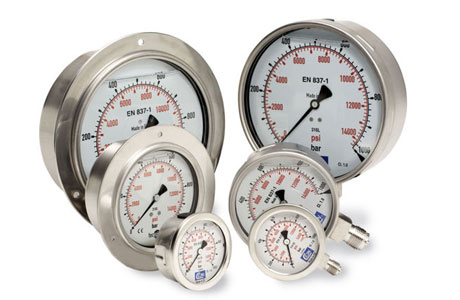
Visual Inspection and Physical Damage Check
Before trusting any pressure reading, perform a visual inspection of the gauge. Look for:
Cracked or foggy glass
Bent pointer
Broken scale
Rusted housing
Loose mounting
Even small dents or water inside the dial indicate damage. If the zero is off when the system is off, that’s a red flag too.
Visual checks are the fastest way to prevent errors. Make it a routine — especially during shift handovers, safety audits, or equipment startups.
Comparing with Reference Gauges
To check if your pressure gauge is accurate, compare it with a reference gauge — one with a higher accuracy class and recent calibration.
Procedure:
Connect both gauges to the same pressure source using a T-connector.
Apply pressure in increments (25%, 50%, etc.).
Note the difference at each step.
If your gauge shows consistent deviations, it needs recalibration or replacement. This simple field test saves downtime and prevents process errors.
Reference gauges are essential tools in any maintenance or quality team — keep them certified and stored safely.
Isolating the Gauge from the Process Line
Isolating a gauge helps:
Perform maintenance without shutting down the process
Protect it from pulsating or corrosive media
Extend its operational life
Common isolation methods:
Needle valves: Shut off flow to the gauge
3-way valves: Allow venting and calibration
Diaphragm seals: Isolate from viscous or toxic fluids
Capillary lines: Move the gauge away from vibration or heat
Proper isolation ensures safer operation and easier service — especially in critical or hazardous zones.
Checking for Zero Error and Full-Scale Drift
To check zero error:
Vent all pressure from the gauge
See if the pointer returns to zero
Adjust if a zero-reset screw is present
To check full-scale drift:
Compare gauge readings at known pressure points
Use a calibrated reference gauge or dead-weight tester
Note deviations at mid and high pressure levels
Document these checks and recalibrate if deviation exceeds the allowed tolerance. Regular testing ensures long-term reliability and maintains compliance in regulated industries.
When to Replace vs When to Repair
Knowing when to replace a pressure gauge versus attempting repair can save time, money, and risk.
Replace if:
The needle is stuck or doesn’t return to zero
The lens is cracked or fogged
Internal parts are visibly corroded
It’s been exposed to overpressure
It’s inexpensive (less than ₹1000–₹1500)
Repair if:
It’s a high-end or specialty gauge (digital, sanitary)
Minor recalibration is needed
Only the seal or gasket is faulty
A certified lab can restore it to spec
In high-stakes systems, replacement is often safer and faster. Always weigh the cost of downtime or wrong readings against the price of a new gauge.
Conclusion
Troubleshooting a pressure gauge shouldn’t start with replacement—it should begin with diagnosis. Isolate the gauge from the system, compare it with a known-good reference, and check the zero point. Inspect for visible damage or leaks, and ensure the sensing port isn’t clogged. For digital gauges, confirm battery health and sensor responsiveness. Calibration drift, environmental changes, or overpressure events may all be the root cause. Use systematic troubleshooting steps to avoid misjudging the instrument. A measured approach restores function, avoids unnecessary replacements, and keeps systems running efficiently. With experience, you’ll spot faults faster and address them smarter—minimizing both cost and downtime.